

Flour is made by grinding uncooked grains, roots, or seeds into a fine powder; most preppers are familiar with the standard plants you can turn into flour, such as wheat, corn, and barley.
However, there are quite a few more plants that you can turn into flour – some of which most people don’t even associate with food!
If you’re in a survival situation, you can bet the grocery store shelves will be empty and common items like those listed above will be snagged first. However, if you’re smarter than the average bear, you can stock up on some of these uncommon plants today and make flour for survival food before SHTF.
8 Unexpected Plants You Can Turn Into Flour
1 – Amaranth
Amaranth is a type of weed grown across North and South America. Its seed stalks are about 4-8″ long, and are full of seeds (thousands, even!). Harvest the amaranth in the fall, and let it dry in the sun (or a sunny window if there’s wind).
These tiny seeds might be a bit of work to husk and harvest, but they can be ground into a flour that’s actually quite popular.
Here’s a video of the process of harvesting amaranth:
2 – Almond

Almond flour is surprisingly easy to make, and is great for people needing gluten-free options. You can either make the blanched or unblanched variety, depending on the texture you’re going for and recipe you’re making.
Once you discover the simplicity of making your own almond flour, you’ll want to start stocking up on it to use in an emergency (or just for a rainy day).
Watch the video below to see how easy it is to make either type for gluten-free cooking/baking:
3 – Ryegrass
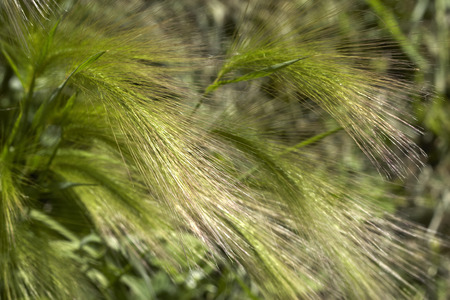
Ryegrass is a type of grass that’s planted all over the country and contains long, narrow seeds. About 3-4″ high, they typically are grown in two types: annual and perennial.
Like many of the other plants on here, ryegrass should be harvested in the fall – you’ll know it’s ready when the grass is browned. To collect the seeds, simply shake the ryegrass over a basket (you can even hit large batches of it with a stick to knock them out).
Then crush the seeds by hand, and allow the wind (or your breath) to separate the seed from the chaff (much like in the video under the amaranth section in #1).
4 – Rice
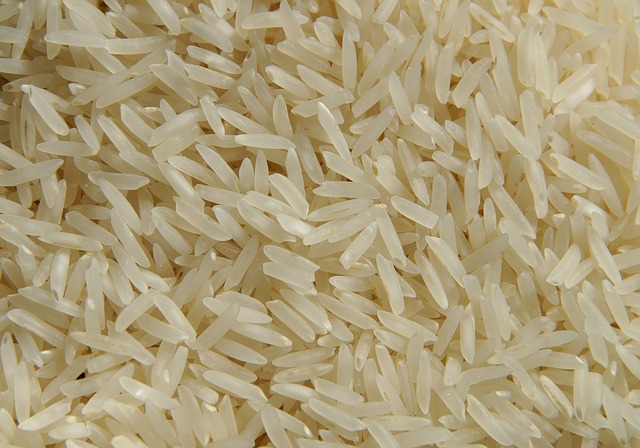
If you’re not into doing a ton of prep to make your own flour, rice flour is one of the simplest types you can make. All it takes is a food processor or blender (or any other grinding method), and then grinding up the dry rice until it’s a smooth, dry, fine powder. Then pour the powder through a sifter in order to remove the large bits.
The best part about this method (besides the simplicity of it) is how cheap it is to make – plus the availability of rice makes it extremely easy to get ahold of.
The video below illustrates how to make brown rice flour; however, you can substitute white rice just fine.
5 – Cattails

You might be surprised by this one (I know I was!); cattails, despite what we would initially think, are actually great sources for making flour. During WWII, cattails were actually grown in excess in order to become an alternative to wheat flour (and other common types), which were growing scarcer by the day.
Although this cattail initiative was halted after the war, the large amounts of cattails you see spanning the coasts of North America are the results of this initiative.
There’s a variety of ways you can turn cattails into flour; one excellent way is to douse the roots in water, peel them, cut them into pieces and then mash them up. You can then dry this mash and crush it to make flour.
Here’s a video from Joe and Zach Survival showing their process of turning cattail roots into flour:
6 – Coconut
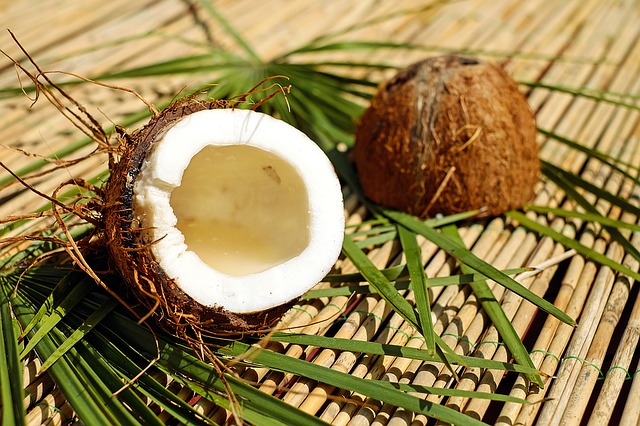
The great thing about coconut flour is it’s an excellent gluten-free options for those with dietary restrictions. It’s also fairly easy to make and really tasty to eat. The beauty of the process, though, is you don’t necessarily have to be living in a tropical state in order to make your own coconut flour.
If you don’t live nearby palm trees with actual coconuts (which is the case for most of us), you can simply buy coconut flakes and use those instead.
Plus, the nice thing is is that whether you’re using fresh coconuts or coconut flakes, the process allows you to make coconut milk while making the flour, so you get two cooking items for the price of one. Not a bad deal!
If using coconut flakes, soak them in water for about 4 hours. Once the coconut flakes are rehydrated, drain the water from the coconut, and then squeeze out the water. Then add the flakes to the blender, and add just enough water to emulsify the mixture.
Once the mixture is blended, strain the excess liquid into a bowl and save it as coconut milk (if desired). Take the rest of the mixture and put it on a baking sheet, spreading it into a thin, even layer.
Bake in the oven at 200°F for an hour (or until dried and crumbly). Add to a food processor or blender, until it’s ground into a fine powder.
Here’s a video of North Carolina Prepper showing his process of making coconut milk/powder using coconut flakes:
7 – Curly Dock
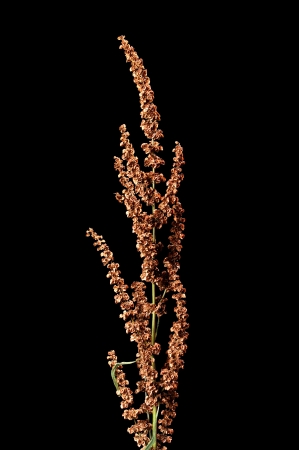
Curly dock is a perennial plant that’s commonly found in California. It typically grows in wet areas, and is often found in ditches, along roadsides, in crop fields, and in orchards. Curly dock stalks contains lots of seeds, and are usually green in color (or red during cooler months).
Unbeknownst to most preppers, this plant is surprisingly rich in vitamin A, as well as in iron and potassium. And you know when SHTF most people won’t even think about stocking up on this plant, leaving more for you!
Here’s Joe and Zach Survival showing you just how to take this plant and turn it into edible flour:
8 – Acorn
Acorns can be made into a delicious flour if you’re willing to put in the work. These are best harvested in the fall, once they’ve fallen on the ground.
Note: Interested in this process? We wrote an in-depth blog about this specific flour. You can read about it here.
It’s typically best (and easiest in the long run) to dry the acorns first; this can be done by roasting them.
Take the caps off, score each acorn on one side using a knife, and then bake them at 250°F for an hour (tossing every 10 minutes). This will allow you to cut them in half easily and get to the dried acorn nut inside.
Acorns are often bitter due to their natural tannins; however, you can remove this bitterness by coarsely crushing them and then soaking them in water after roasting.
Once you’ve soaked them, you’ll need to dry them again before grinding them into flour (and may need to do this process more than once to get out that bitter taste).
Now that you know which plants to make flour out of, you can start stocking up and making the flour now in order to make delicious foods like muffins, bread, biscuits, cookies, etc. before SHTF.
These foods are not only easy to make (especially once you’ve made the flour), but they’re also dense, filling, energy producing, and excellent for bartering when things go south.
These goodies are also great for boosting morale during a crisis (after all, why do you think you crave carbs like cookies and biscuits and gray after you’ve had a bad day? They’re called “comfort foods” for a reason).
The best advice I can give you, however, is to make these delicacies now before you end up in an emergency. Why? Because you can’t plan for crises to happen, and therefore can’t depend on bugging in when SHTF.
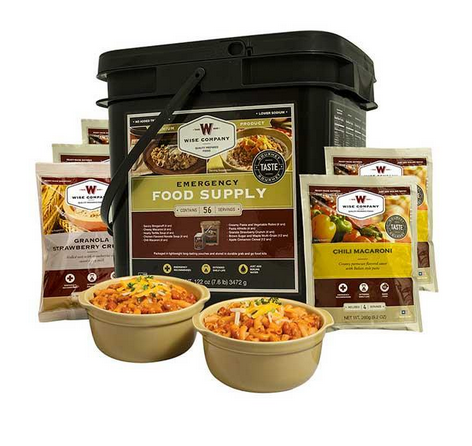
And if you have to bug out, you should probably have these carbo-loaded goodies with you as part of your diverse survival food supply. And if you have a diverse amount of survival food, that probably means you have canned meats and freeze-dried entrees to go along with it.
Note: If you don’t have canned meats or freeze-dried foods, we highly suggest stocking up on them – they diversify your food supply and help give you the nutrients your body needs to work for you – not against you – in an emergency. Click the pictures below for more details.

And we all know that once you have all of those survival foods, you’re going to need effective, lightweight materials to cook with while bugging out.
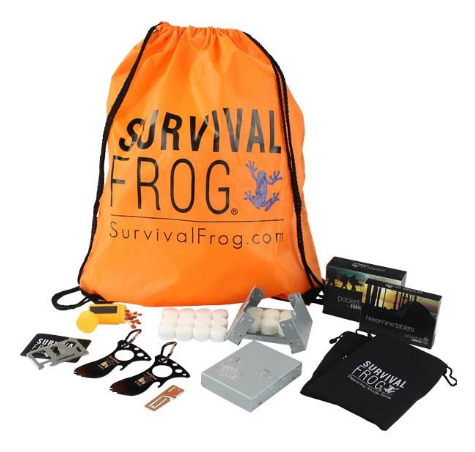
In order to help make your bug out cooking experience the best (and easiest) it can be, Survival Frog has made our very own 2-person Mess Kit.
This mess kit contains essential cooking tools like our very own pocket stoves, fuel tablets, waterproof matches, and P-38 can opener to keep you cooking quickly and efficiently.
It also contains a really efficient multi-purpose spork survival tool, which acts as a spoon, fork, bottle opener, screwdriver, AND 3 hex wrenches, all at the same time.
If that weren’t enough, this awesome mess-kit also comes with an incredible wallet tool, which is basically the king of multitasking.
It’ll act as a can opener, knife edge, slotted/flathead screwdriver, ruler, bottle cap opener, 4-position wrench, wingnut wrench, saw blade, direction ancillary indicator, AND 2-position wrench. Not bad for a tiny tool you can fit in your pocket!
Since we always aim for convenient solutions, all these amazing survival tools come in a sleek orange Survival Frog rescue bag for easy transporting. And, since the kit is built for two people, you can take turns carrying the loot (although, at only 23 oz. it’s not likely this bag is going to weigh you down).
Whether you’re hiking, camping, backpacking, or bugging out, this 2-person mess kit will make you and your partner’s survival experience a WHOLE lot easier. Get yours today by clicking here or on the image below, and immediately become better prepared for when SHTF.
1 comment
Looking at your mess kit, it looks like you could use the wrench end of the tool as a hide scraper too…